Begin your braiding journey with this easy guide to a single dutch braid – a beginner-friendly tutorial for a stylish and achievable look!
This post is all about an easy dutch braid!
What’s the difference between a dutch braid and a french braid?
The main difference between a dutch braid and a french braid lies in the direction the strands are crossed over each other:
Dutch Braid:
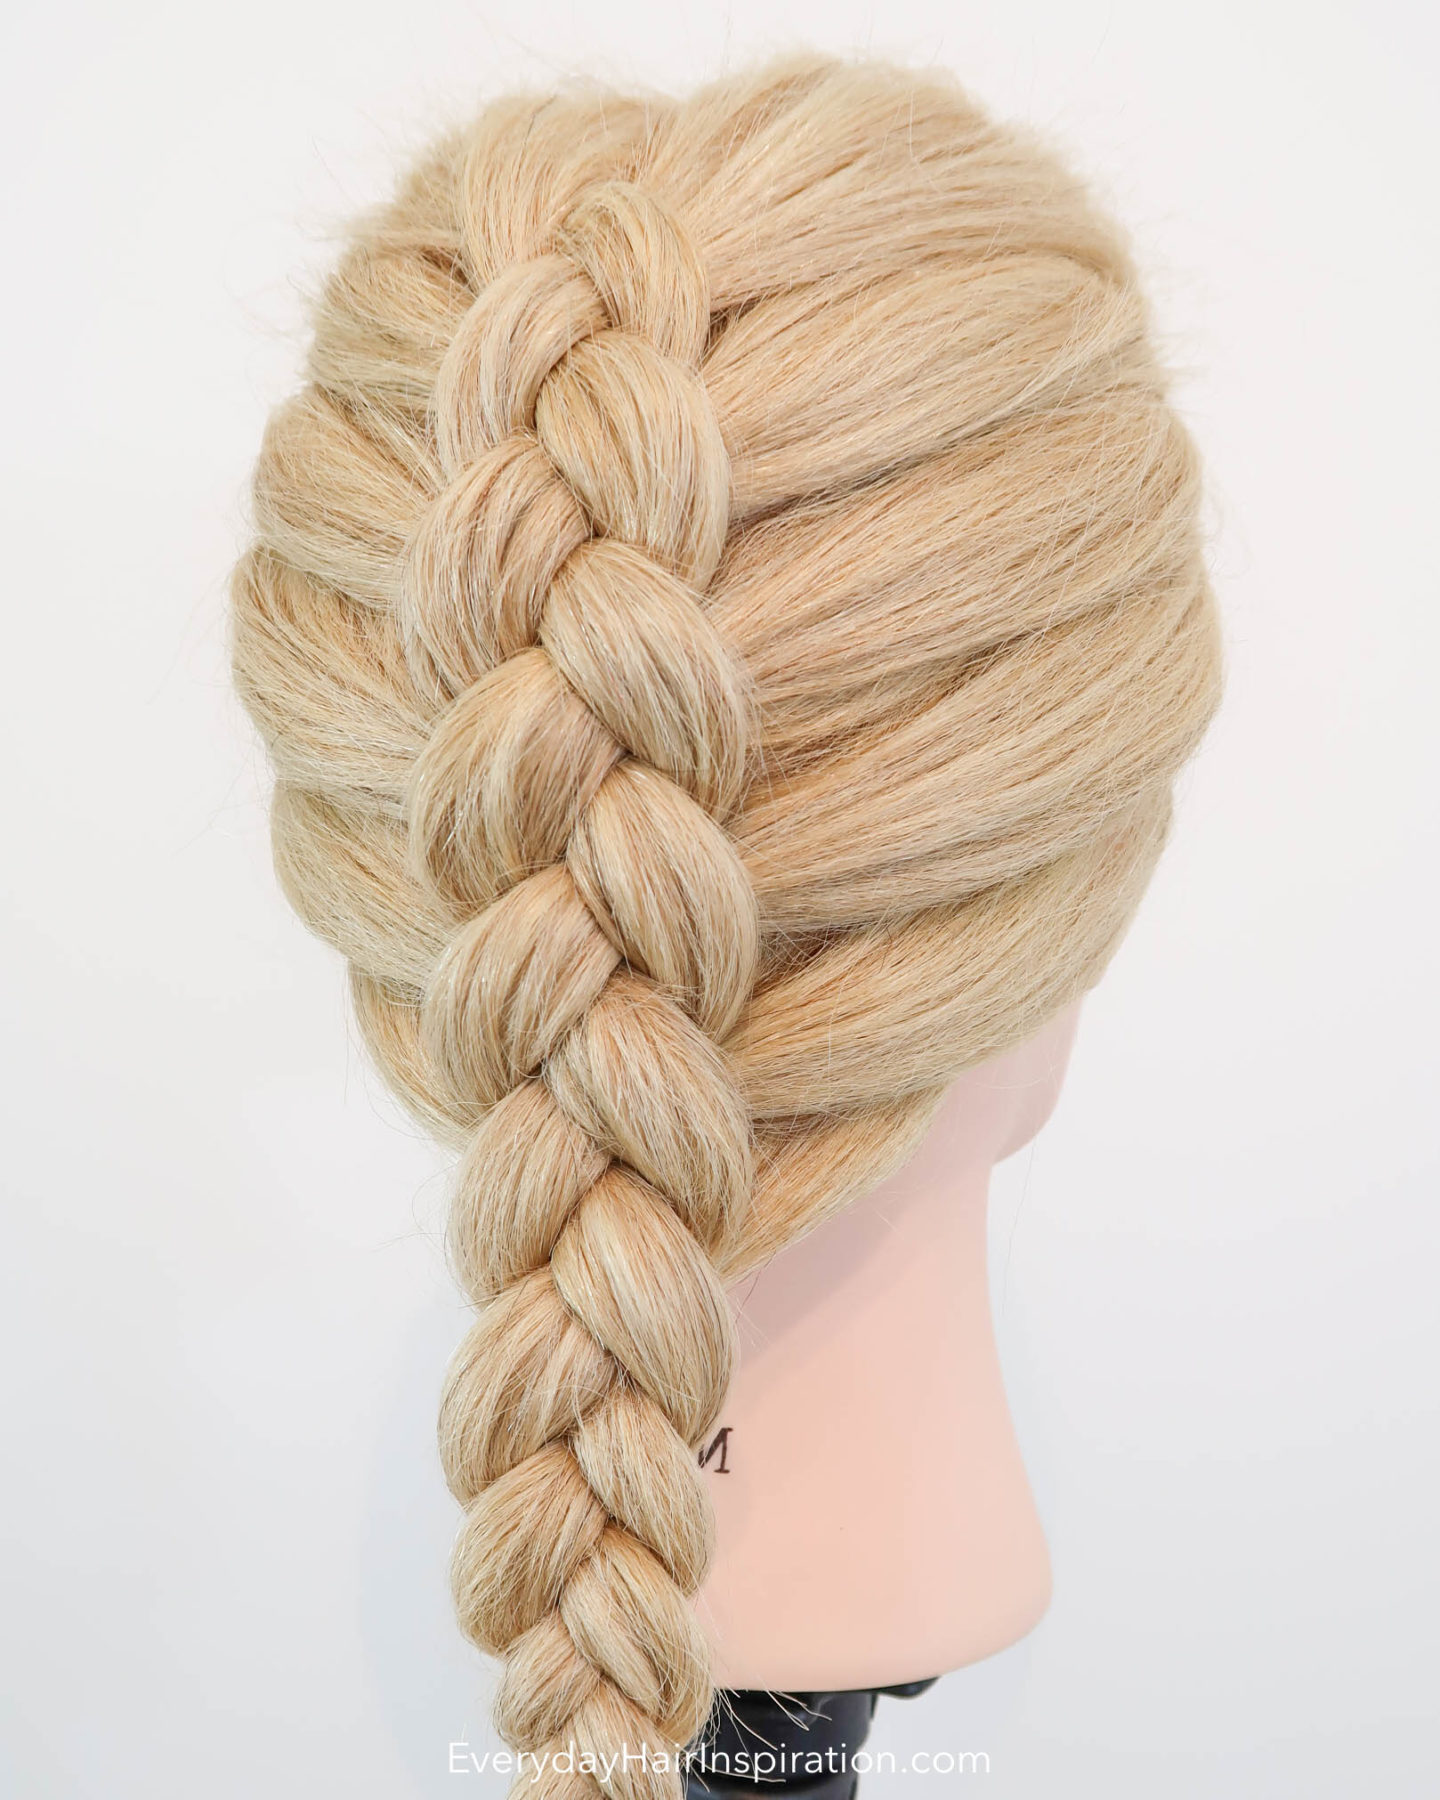
In a Dutch braid, the outer strands are crossed under the middle strand. This creates a braid that appears to sit on top of the hair, giving it a raised and voluminous look.
French Braid:
In a french braid, the outer strands are crossed over the middle strand. This results in a braid that appears to be woven into the hair, lying flat against the head.
In summary, the key distinction is in the positioning of the strands – under for Dutch braid, and over for French braid. Both styles involve gradually adding hair to the strands as you braid for a woven effect.
How to braid with bangs?
You can absolutely braid with your bangs and depending on your hair length there are a few options you can choose from:
Include the bangs in the braid
If your bangs are long enough to reach past the first few stitches in the braid you have chosen, then you can simply include them in the braid.
You might need to spray the hair with hairspray as you are braiding to ensure the end of your bangs stays down.
Leave them out
If your hair is on the shorter side, section them off before you begin braiding and then style them afterward! You can also do this with longer bangs and I love the soft feminine vibe it gives to the finished hairstyle.
How to keep your braid neat and tidy?
It can be difficult to keep your braid slick and smooth if you are new to braiding, so here are a few things you can try to make your braid tidy
Wait for Second-Day Hair:
Braiding often holds better on second-day hair, as the natural oils provide some grip. If your hair tends to be slippery, consider braiding it when it’s not freshly washed.
Smooth Foundation:
Start with clean, detangled hair. Use a brush or comb to eliminate any knots or tangles. This provides a smooth foundation for your braid, ensuring it looks tidy from the beginning.
Prep your hair with the Right Products:
Depending on your hair type, consider using styling products like mousse, gel, or hair wax to add texture, control frizz, and enhance the grip for braiding.
Consistent Tension:
Maintain consistent tension while braiding. Whether you’re doing a french, dutch, or any other braid, keeping the same level of tightness throughout prevents a messy appearance and creates a polished look.
Secure the End Properly:
Secure the end of your braid appropriately. Use a small, clear elastic or one that blends with your hair color. Make sure it’s tight enough to hold the braid securely, so it won’t loosen up.
Products great for dutch braids
You don’t need that many things to do lots of hairstyles, but there is a few basic items, that you need. Most you probably already have, but if you don’t then these are some items I would recommend having!
The links above are affiliate links. That means that at no additional cost to you, I will earn a commission if you click through the link and make a purchase.
Read more on my disclosure page – click here to read.
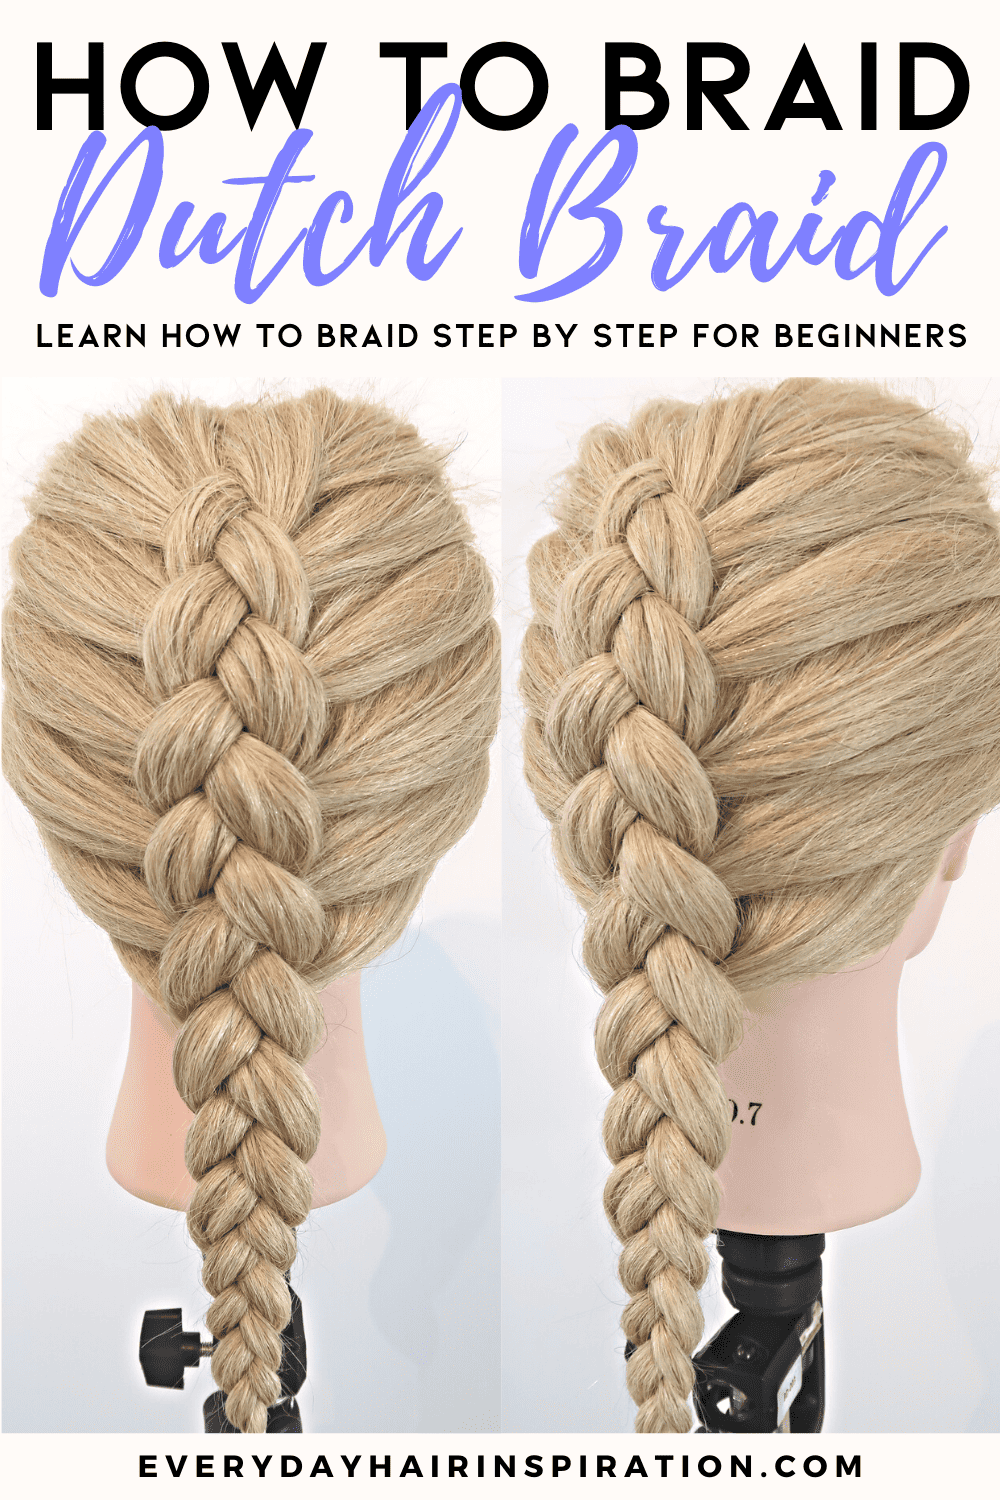
How To Dutch Braid Step By Step Guide
Time requirement: 10 minutes
Skill level: Medium
Easy Step by step guide
1. Take a section of hair at the top of the head and split it into 3 equal sections
2. Then cross the right strand under and into the middle
3. Now take the left strand and cross it under and into the middle
4. – now you have to add hair to the braid. For hand placement please watch the video
5. Then grab a new section of hair on the right side and add it to the right strand
6. Then take the right strand and cross it under and into the middle
7. Now pick up a new section on the left side and add it to the left strand
8. Then take the left strand and cross it under and into the middle
9. Repeat steps 5-8 until there is no more hair to add to the braid
10. When there is no more hair to add to the braid, then braid the rest of the hair like a reversed 3-strand braid
11. When you get to the end of the hair, grab an elastic and tie the braid off
This post was all about how to learn this easy dutch braid hairstyle for beginners!
Related Articles
You may also find the following articles helpful:
- 5 Basic Braids For Beginners – Easy & Simple
- French Braid For Beginners – Easy “How To” Tutorial
- Dutch Braids For Beginners
- How To Dutch Braid Your Own Hair For Beginners, 15+ Million Views!
- How To French Braid Your Own Hair


