A dutch braid is a very trendy braid right now and I see them everywhere on Instagram and YouTube. It’s a quick and easy hairstyle to do and it’s perfect for the gym or for those heatless hairstyle days.
A bonus with the dutch braids is that if you sleep with the braids in, you will have some beautiful waves the morning after. So, if you haven’t already mastered the dutch braid and need help, then you are at the right place!
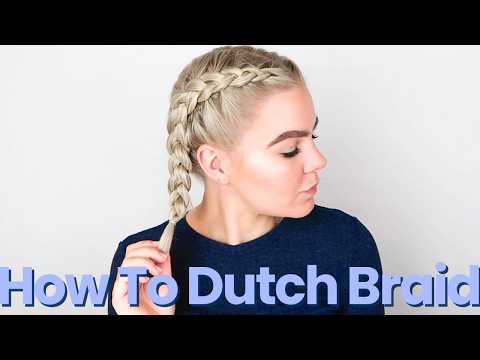
This post is all about how to dutch braid!


Dutch Braid for beginners
Things you will need to create this braid
The links below are affiliate links. That means that at no additional cost to you, I will earn a commission if you click through the link and make a purchase. Read more on my disclosure page – click here to read.
Find all of my recommendations on hair products here – Clik here to read!

What is the difference between a dutch braid and a french braid?
A question I get very often is “What is the difference between a dutch braid and a french braid?” and the answer is quite simple.
When you French braid, you cross the strand of hair over and into the middle. When you dutch braid, you cross the strand of hair under and into the middle. The only difference is whether you cross the hair over or under. So, if you know how to french braid, then dutch braiding will be a piece of cake! The technique is 99% the same.
For a full step-by-step guide on how to dutch braid, just keep reading, and good luck!
How to hold the strands of hair
In the original video, I didn’t explain how to hold the strands while braiding. So I have created a new and improved video on how to dutch braid your own hair, where I show you exactly how I move the hair around, and which fingers hold what strand. The updated video is linked below!


How to dutch braid step by step
ITEMS NEEDED: Brush, 2 small hair elastic, hairspray
TIME REQUIREMENT: 10-15 minutes
SKILL LEVEL: Medium
Step by step guide
Step 1: Brush your hair and split your hair into 2 equal sections down the back of your head. Use a hair clip or elastic to secure one side out of the way, so it’s easier to braid.
Step 2: Take a section of hair and part it into 3 equal sections. Now you have 3 strands of hair like a normal braid
Step 3: Take the top strand and cross it under and into the middle.
Step 4: Take the bottom strand and bring it under and into the middle
Step 5: Now pick up a small section of hair next to the top strand. These 2 are going to be put together
Step 6: Now cross the top strand + the hair you just picked up, under, and into the middle. (You can also cross the top strand under and into the middle first. Then add a section of new hair. Both ways give the same result)
Step 7: Now repeat that on the other side. So pick up a new section of hair next to the bottom strand. These 2 are going to be put together
Step 8: Now cross the bottom strand + the hair you just picked up under and into the middle
Step 9: Repeat steps 5 – 8 until there is no more hair to add-in. Then braid the rest of the hair like a normal braid. Then tie the braid with an elastic. Remember to check if the braids are the same length
Step 10: Repeat steps 1-9 on the other side so you got 2 braids and then you are done
This post was all about how to dutch braid your own hair for complete beginners!


