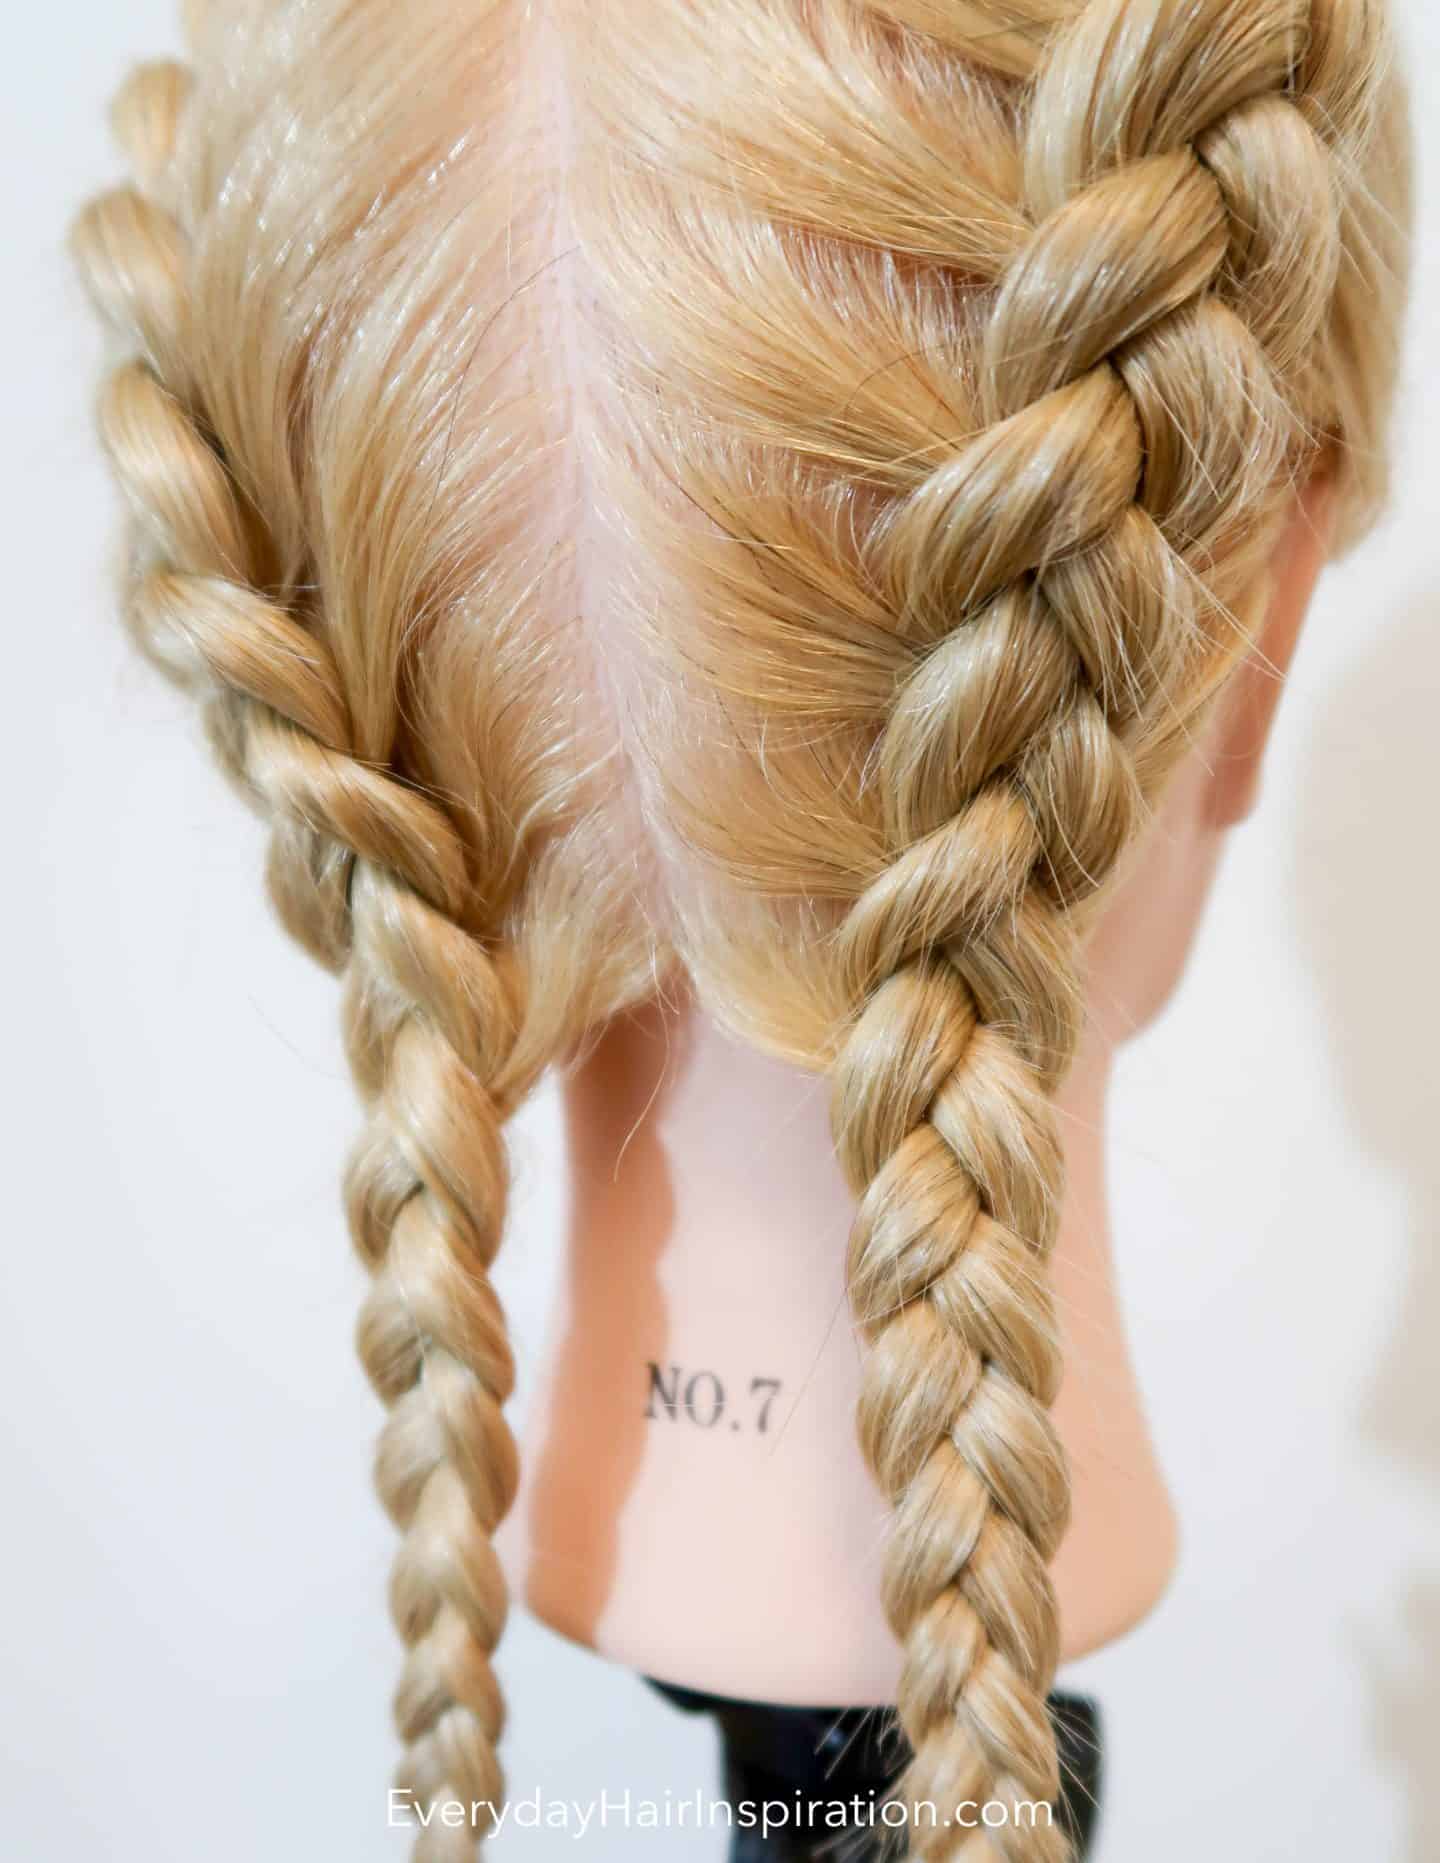
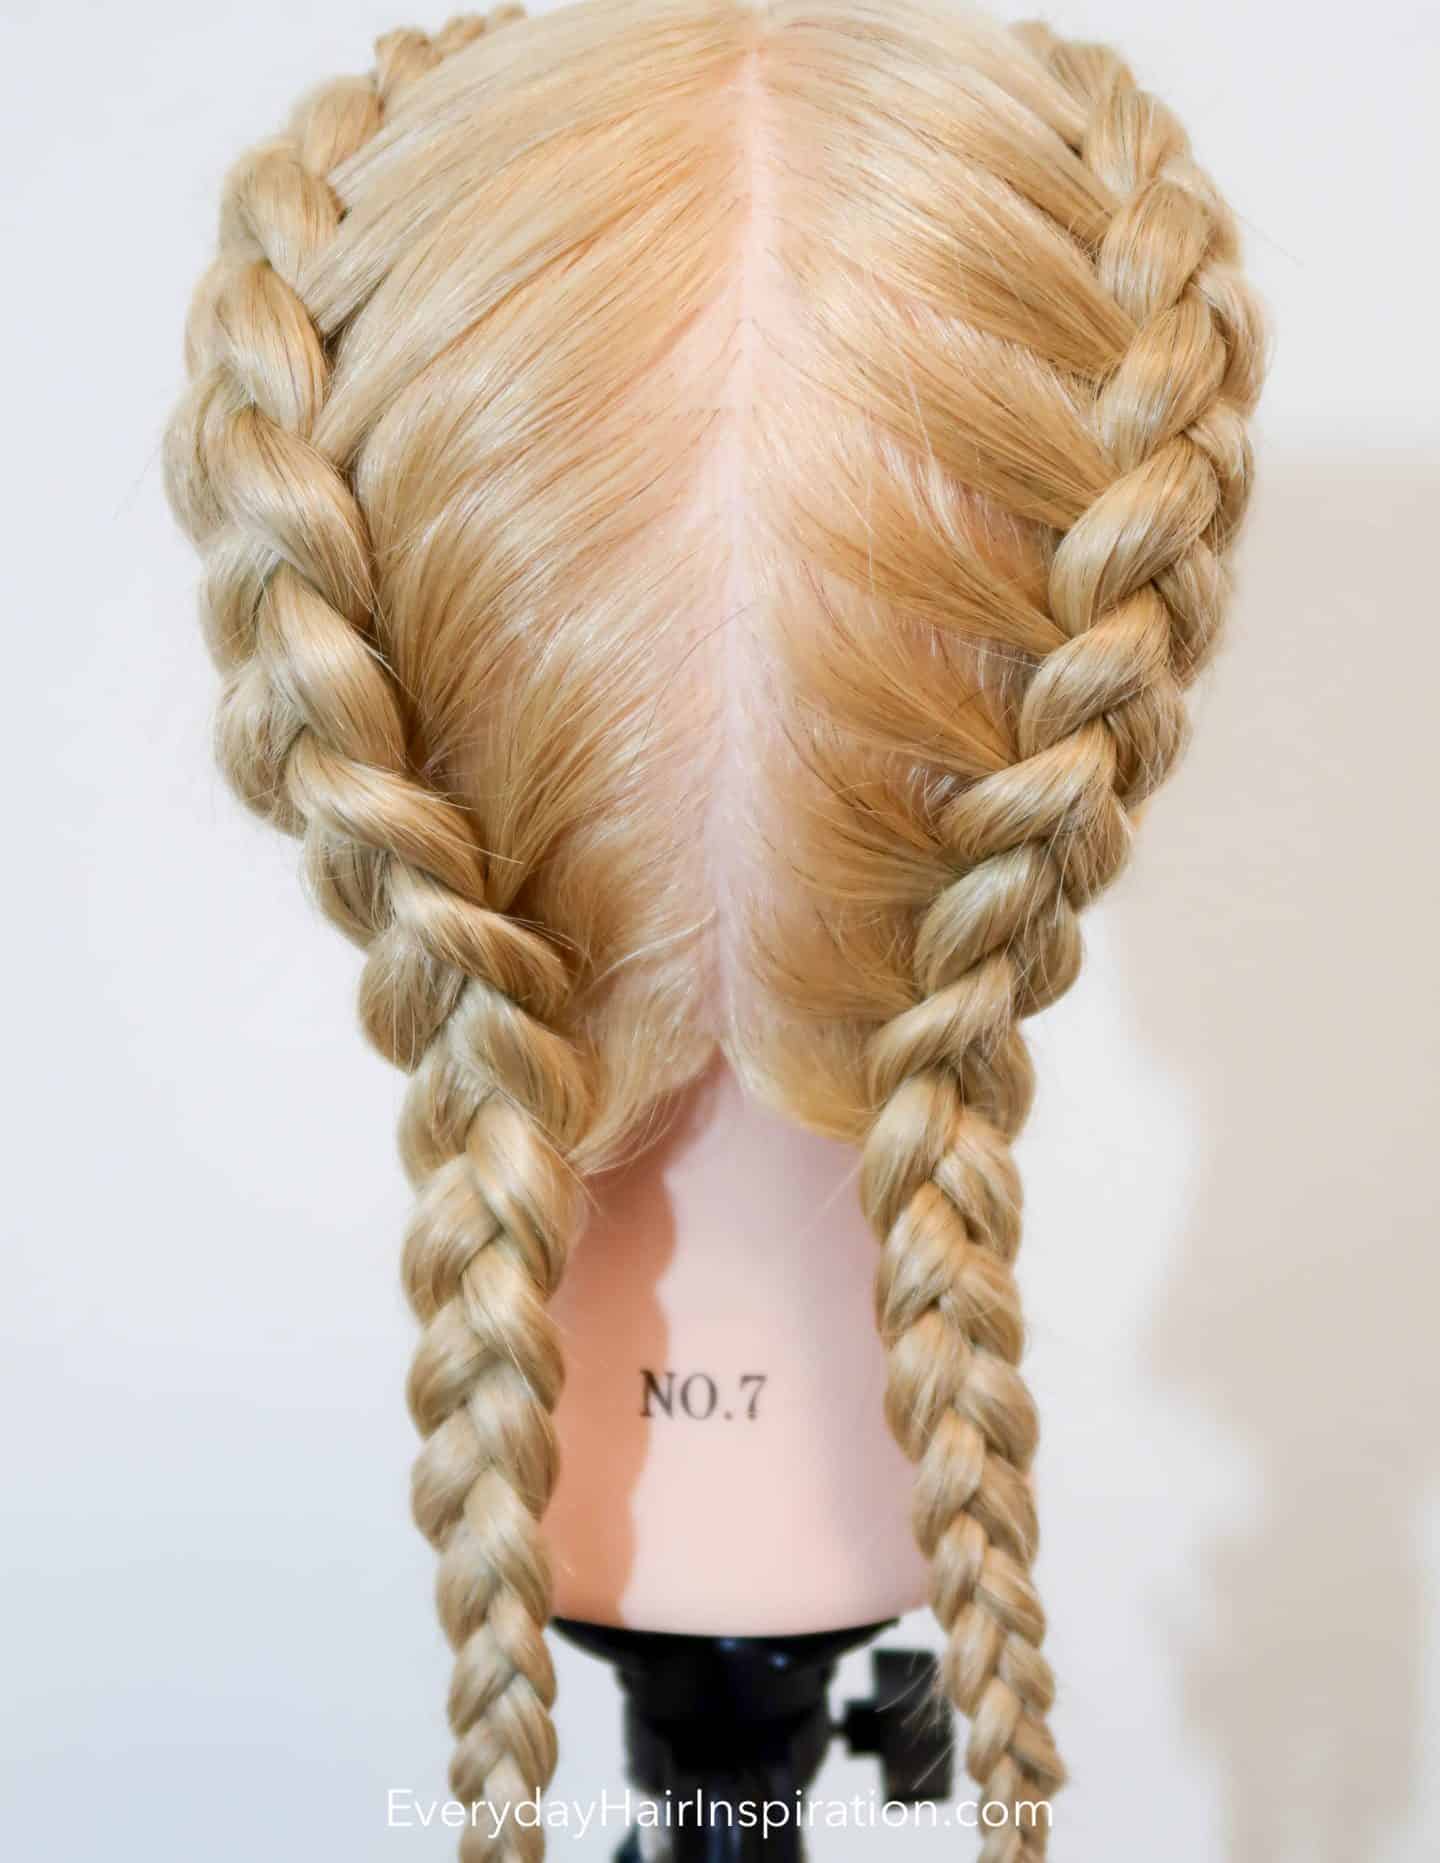
Dutch braids are the best braids ever! It’s timeless and fits any occasion you can think of! Going for lunch with the girls – dutch braid, going to a wedding – dutch braid in an updo, going to a viking show – dutch braids, they are so versatile and will never go out of style!
Both men, women, and kids worldwide love this braid.
This post is all about dutch braids for beginners!

How to do dutch braids for beginners
The Kardashian family is also known for their love of the dutch braid as they are often seen with this beautiful braided hairstyle! Many celebrities wear dutch braids and styling your hair like this is an easy way to get their look cheaply, as hairstyling doesn’t cost anything!
Dutch braid can be added and incorporated into so many hairstyles, such as updos, half up half down hairstyles, and more, which will give these hairstyles detail and a classic and chic look as a dutch braid is timeless!
5 reasons why you should ducth braid your hair today!
- Gets your hair out of your face: If you are like me and need my hair out of my face all the time to focus, then braids are perfect for that! It pulls your bangs back and out of the way so you don’t need to tuck your hair behind your ear all the time.
- Heatless waves: If you wear your hair in dutch braids and sleep with it through the night, then in the morning you can unravel the braid and get heatless waves!
- Oily hair: If you struggle with greasy hair and don’t know what to do on day 2 or 3 with your hair, then use your natural oily to your advantage and braid your hair! Dutch braids are perfect to hide oily hair! If you want to learn about different ways you can get rid of oily hair – then check out the “All you need to know about oily hair” blog post here!
- Low maintenance: Once you have styled your hair, you can wear this hairstyle for the next few days and save some time in the mornings styling your hair.
- Minimize heat styling: When you dutch braid your hair you don’t need heat to style your hair! Heat can really damage your hair. If you use heat styling tools on an everyday basis like straighteners or curling irons, your hair might get damaged over time, and braiding your hair you can give your hair a break!

Tools you need to do dutch braids
Before we get to the step-by-step instructions, here are a few essentials you will need to create this hairstyle, you might have all these at home, but if you don’t then I have linked a few suggestions below!
- Hairbrush
- Comb
- Hair clips
- Hair elastics that match your hair color
- Hairspray
- Mirror
- Grip powder (Optional)
The links above are affiliate links. That means that at no additional cost to you, I will earn a commission if you click through the link and make a purchase.
Read more on my disclosure page click here.
Find all of my recommendations on hair products here – click here to read!
Easy braided hairstyle for beginners
Step-by-step guide to braid your hair
Time requirement: 15-20 min
Skill level: Medium
Prep the hair:
The absolute first step is to brush the hair, so there are no tangles when you have to braid. If your hair is really fine or slippery, you
- Split the hair down the back of your head and clip one side up with a hair clip, so it’s out of the way
- Then take a small section of hair in the front of the hair and split it into 3 equal sections
- Now take the top strand and cross it under and into the middle
- Then cross the bottom strand under and into the middle
- – For how to hold the hair and hand placement, please watch the video!
- Now pick up a new section of hair from the same side as the top strand
- Then add the new hair to the top strand
- Then cross the top strand under and into the middle
- Now pick up a new section of hair from the same side as the bottom strand
- Then add the new hair to the bottom strand
- Then cross the bottom strand under and into the middle
- Repeat steps 6-11 until there is no more hair to add to the braid
- When you can’t add more hair to the braid, then braid the rest of the hair like a basic 3-strand braid, but remember to keep braiding under like in the previous steps!

Other hairstyles you might like
How To Dutch Braid Your Own Hair
If you want to braid your own hair, then here is a tutorial, showing you what it looks like to braid your own hair from the back view and I also explain how to hold the strands and move them around! Give it a try!
Full tutorial here: “How To Dutch Braid Your Own Hair”
How To French Braid Step by Step For Beginners
If you don’t want the volume on top of your hair like dutch braids give, then you need to try a french braid! It´s 99% the same technique, you just braid over instead of under! They give less volume, but look just as pretty!
Full tutorial here: “French Braids For Beginners”
How To Dutch Braid Your Own Hair Step By Step For Complete Beginners
In this video, I show you 2 different ways to add hair to the braid! Both ways are simple to do, so try them out and do the one you find the easiest! Follow along to this video and dutch braid your own hair in less than 15 minutes!
Full tutorial here: “How To Dutch Braid Your Own Hair For Beginners”
This post was all about how to create dutch braids for beginners in less than 10 minutes!