This diamond braid has been everywhere on Youtube and Instagram lately, so of course, I had to show you guys how to do this unique and beautiful hairstyle.
This is an advanced braid, but I feel that what makes this braid difficult is maneuvering the hair around and not the steps themselves, so when you have the hand placement down, this is actually quite easy, it just takes a while.
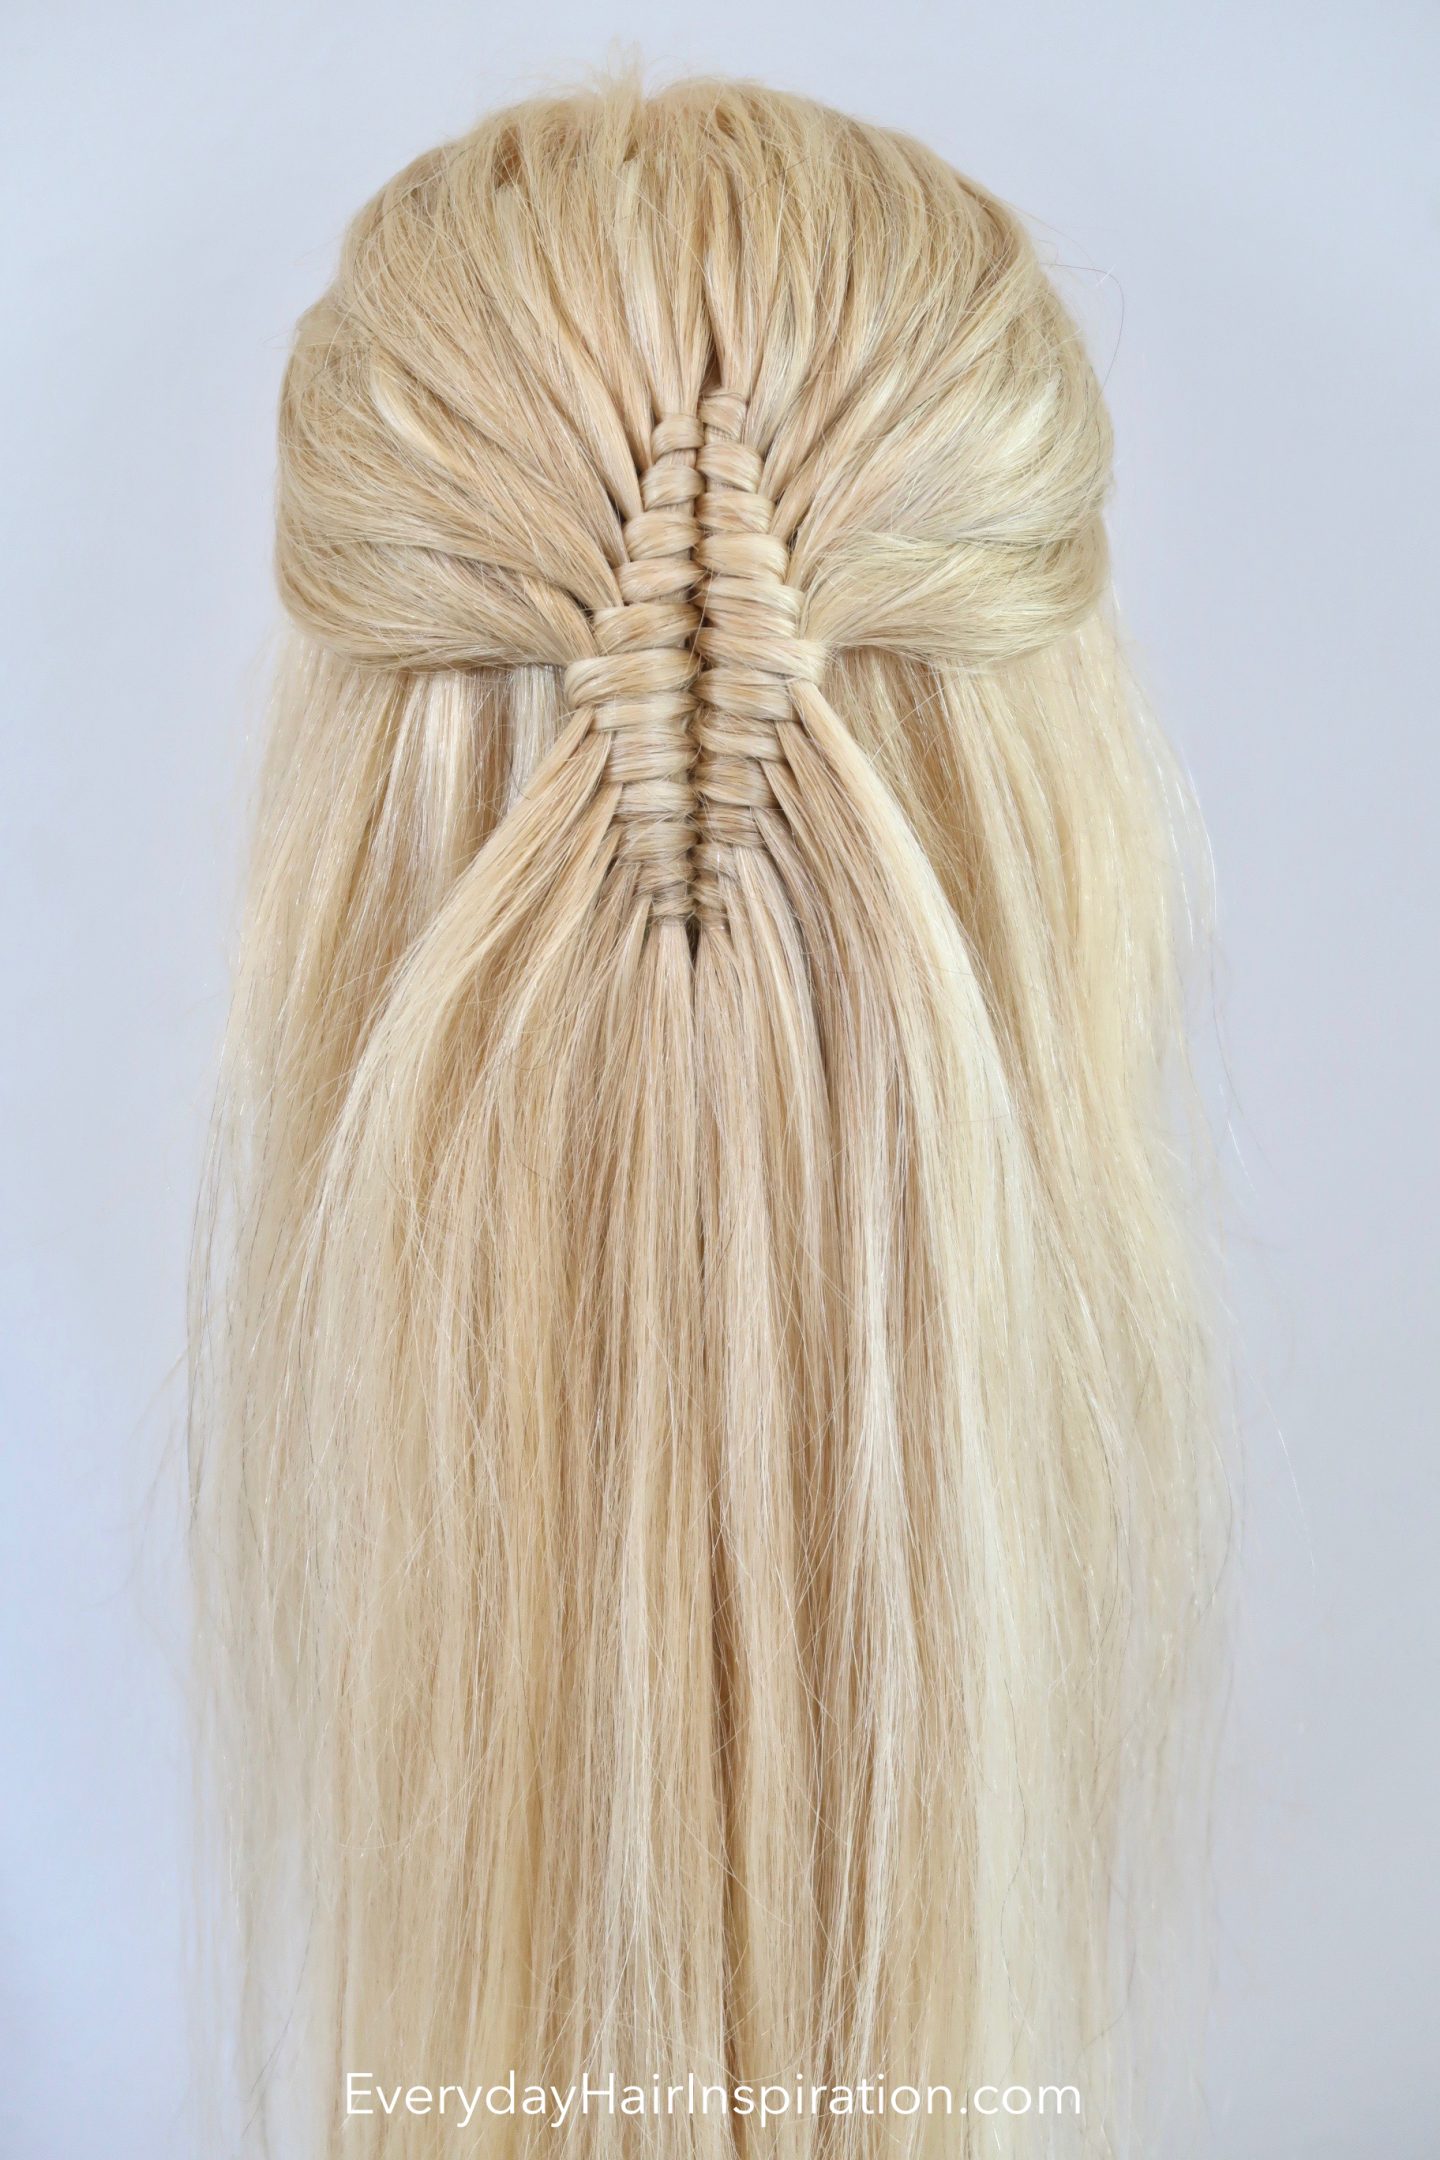
This post is all about how to diamond braid!

In this braid, I used a couple of extensions to make the braid thicker, but if you don’t have extensions you don’t have to do that! You can just take some bigger sections and use some styling powder to give the hair some grip and also thicken up the hair.
This hairstyle looks amazing with straight hair, but to give the hairstyle a more soft feminine feel, pick your favorite curling iron and curl the hair hanging down!
THINGS YOU WILL NEED TO CREATE THIS BRAID
The links below are affiliate links. That means that at no additional cost to you, I will earn a commission if you click through the link and make a purchase. Read more on my disclosure page – click here to read.
Find all of my recommendations on hair products here – Clik here to read!
Infinity diamond braid for beginners
This diamond braid is actually just a normal infinity braid, that you add hair to, to make it wider towards the middle, and then take out hair to make it thinner again towards the bottom of the braid to give the diamond braid.
If you don’t know how to infinity braid, then I would recommend starting there. When you have the “basic” braid down, then come back to this diamond braid and work on adding and taking out hair. An easy step-by-step video is linked below!

HOW TO DIAMOND BRAID STEP BY STEP
TIME REQUIREMENT: 10-15 minutes
SKILL LEVEL: Advanced
STEP-BY-STEP GUIDE
Step 1: Pick up a small section in the middle of the back of your head (this is the wrapping section)
Step 2: Pick up a new small section on the right of the wrapping section
Step 3: Wrap the wrapping section over and under the right strand
Step 4: Pick up a new small section on the left of the wrapping section
Step 5: Wrap the wrapping section over and under the left strand
Step 6: Pick up a new section of hair on the right side and add it to the right strand
Step 7: Wrap the wrapping section over and under the right strand
Step 8: Pick up a new section of hair on the left side and add it to the left strand
Step 9: Wrap the wrapping section over and under the left strand
Step 10: Continue steps 6-10 until you reach just above your ears
Step 11: Take a small section of hair from the right strand and leave it out of the braid
Step 12: Wrap the wrapping section over and under the right strand, without the small strand
Step 13: Take a small section of hair from the left strand and leave it out of the braid
Step 14: Wrap the wrapping section over and under the left strand, without the small strand
Step 15: Again, take a small section of hair from the right strand and leave it out of the braid
Step 16: Wrap the wrapping section over and under the right strand, without the small strand
Step 17: Again, take a small section of hair from the left strand and leave it out of the braid
Step 18: Wrap the wrapping section over and under the left strand, without the small strand
Step 19: Continue steps 11-18 until you reach the end of the braid and then tie off the hair
Step 20: You are done with your diamond braid!
This post was all about how to create a unique half up half down diamond braid hairstyle for beginners


